Friends and colleagues ask me all the time about how they can get into hiking safely. But Seattle interns and new hires, this post is for you! Hiking here in the Cascades may be very different than hiking back home (it was for me, coming from the Midwest).
It’s easy, and over time one can build up a base of experience to move from easier to the most challenging hikes in the area. But there are a few prerequisites to hike responsibly.
Understand the risks:
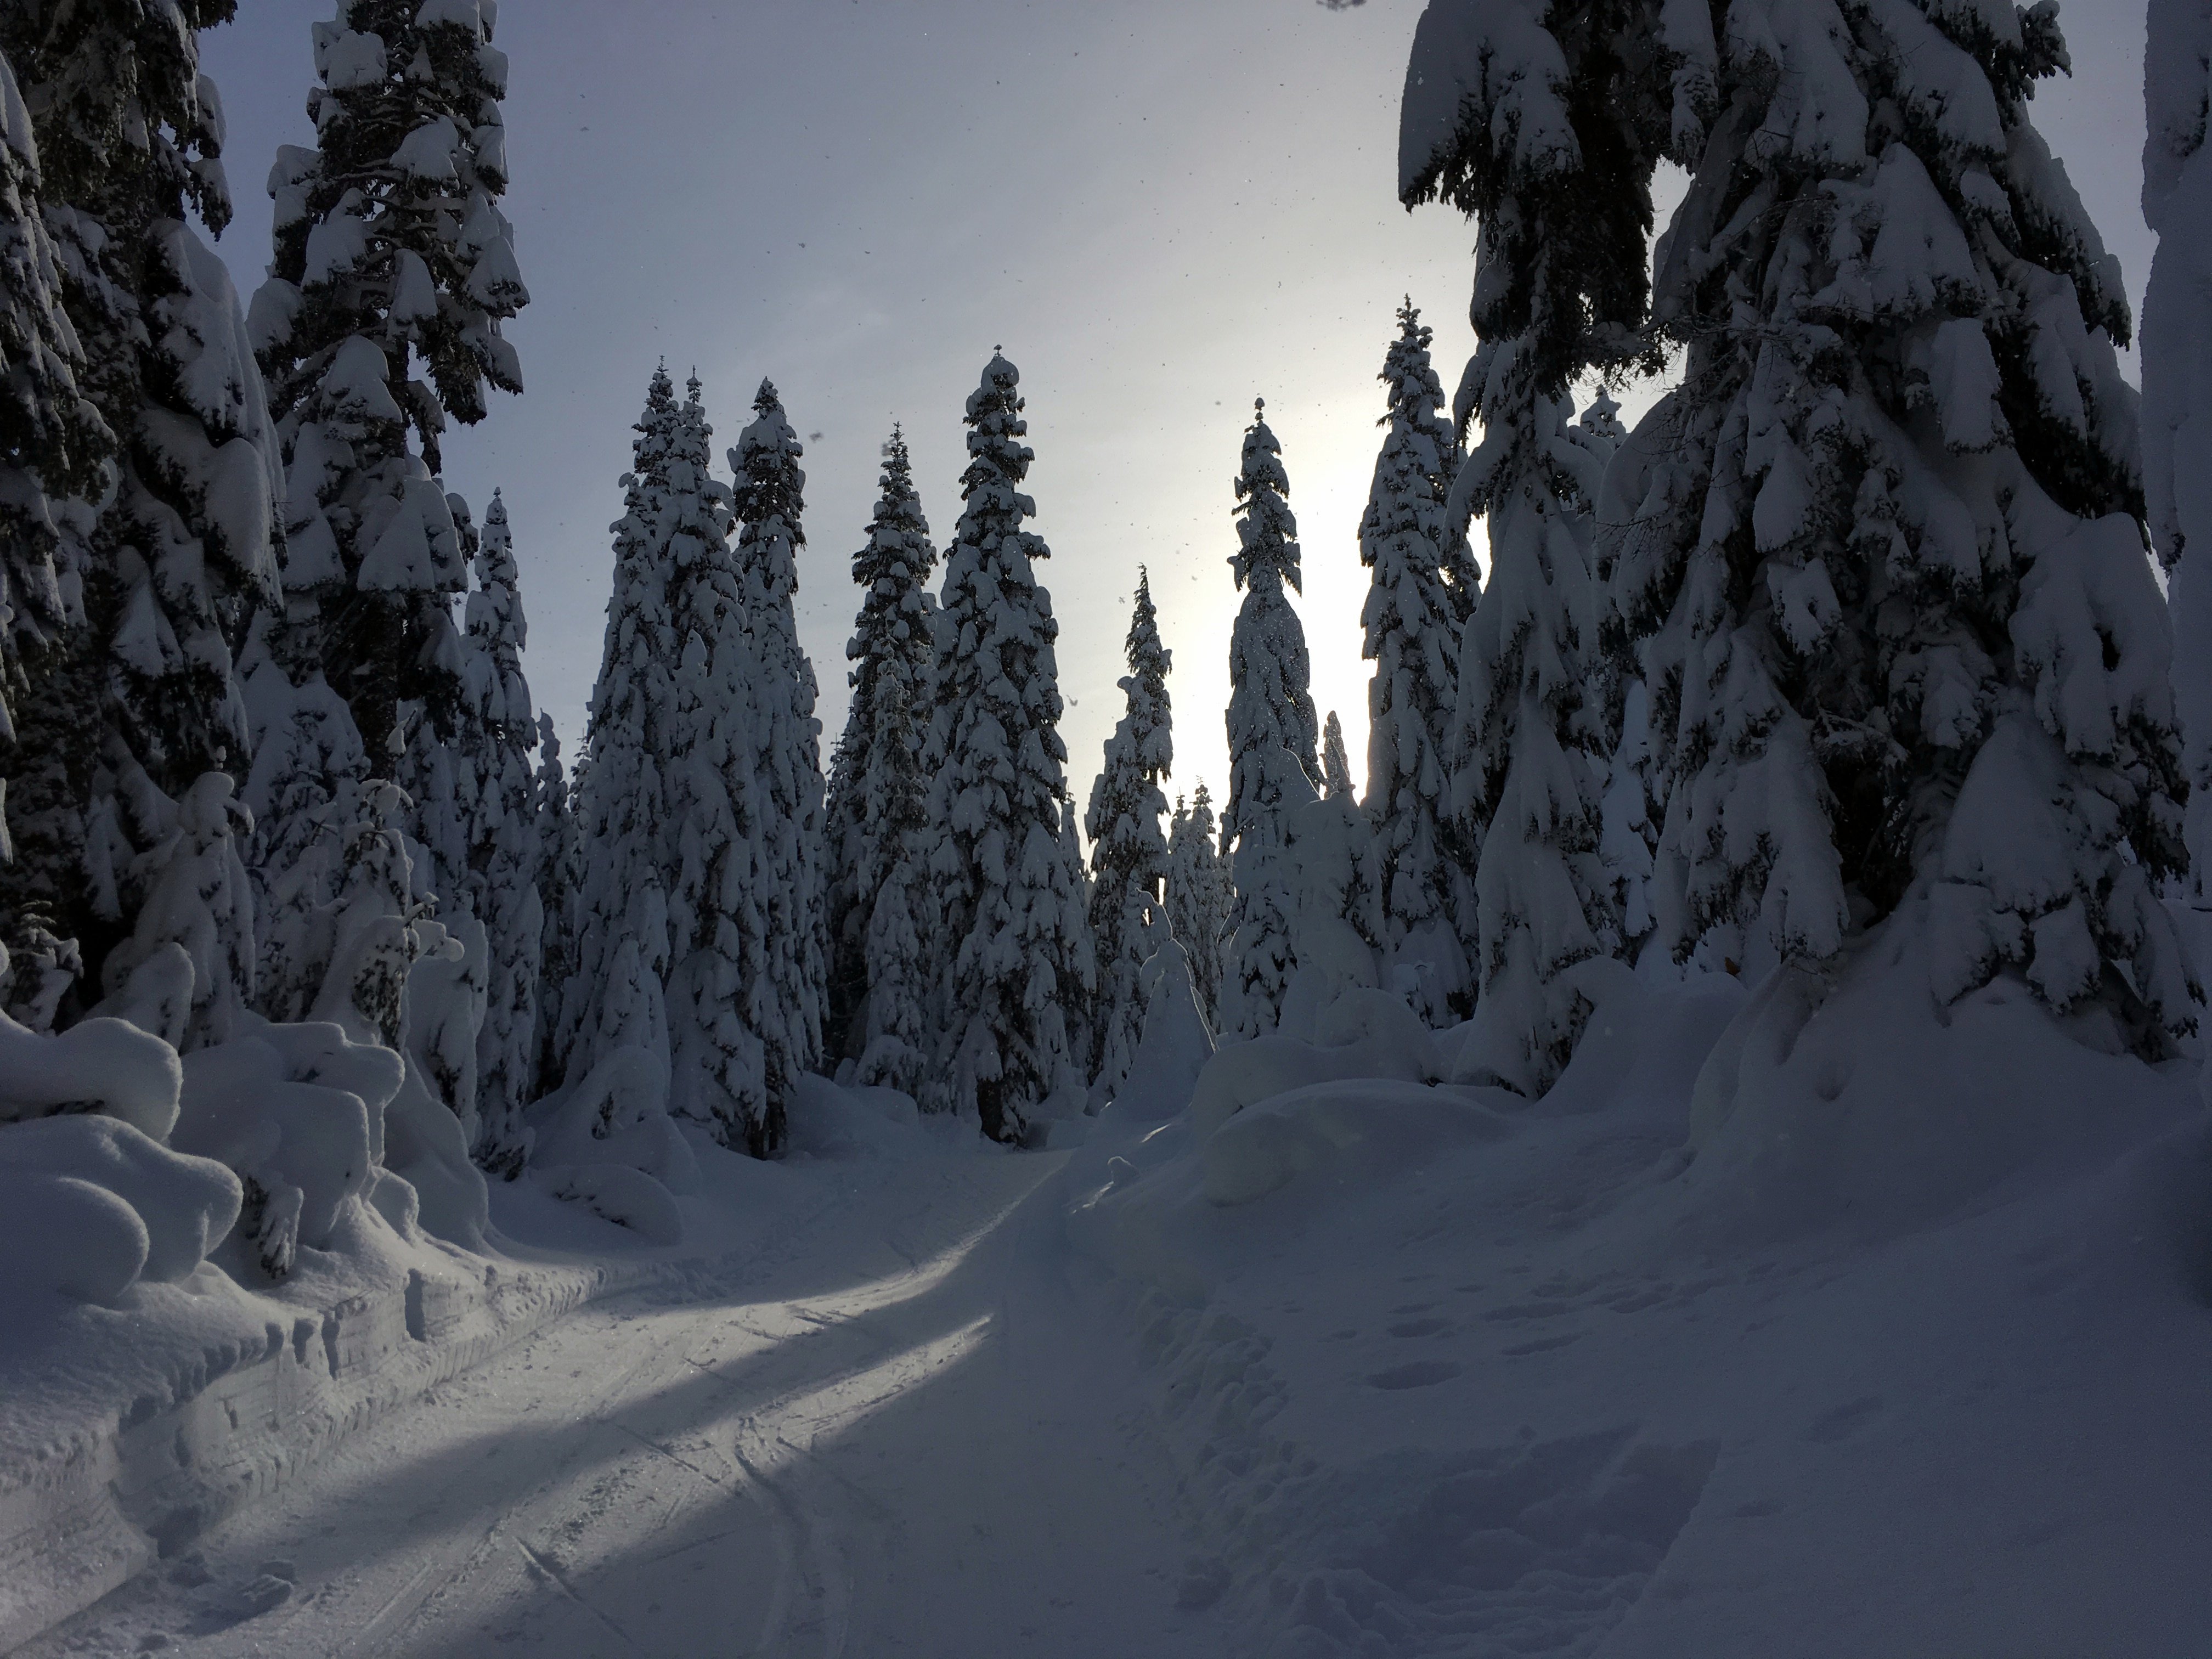
Almost every day of hiking in the mountains can be a mellow experience but things can go wrong. Hypothermia (exposure), falls on snow or rock, and snow avalanches kill several Washington hikers every year. You can mitigate these hazards and other less common ones with common sense, selection of appropriate trails, equipment, and knowledge.
Find a friend:
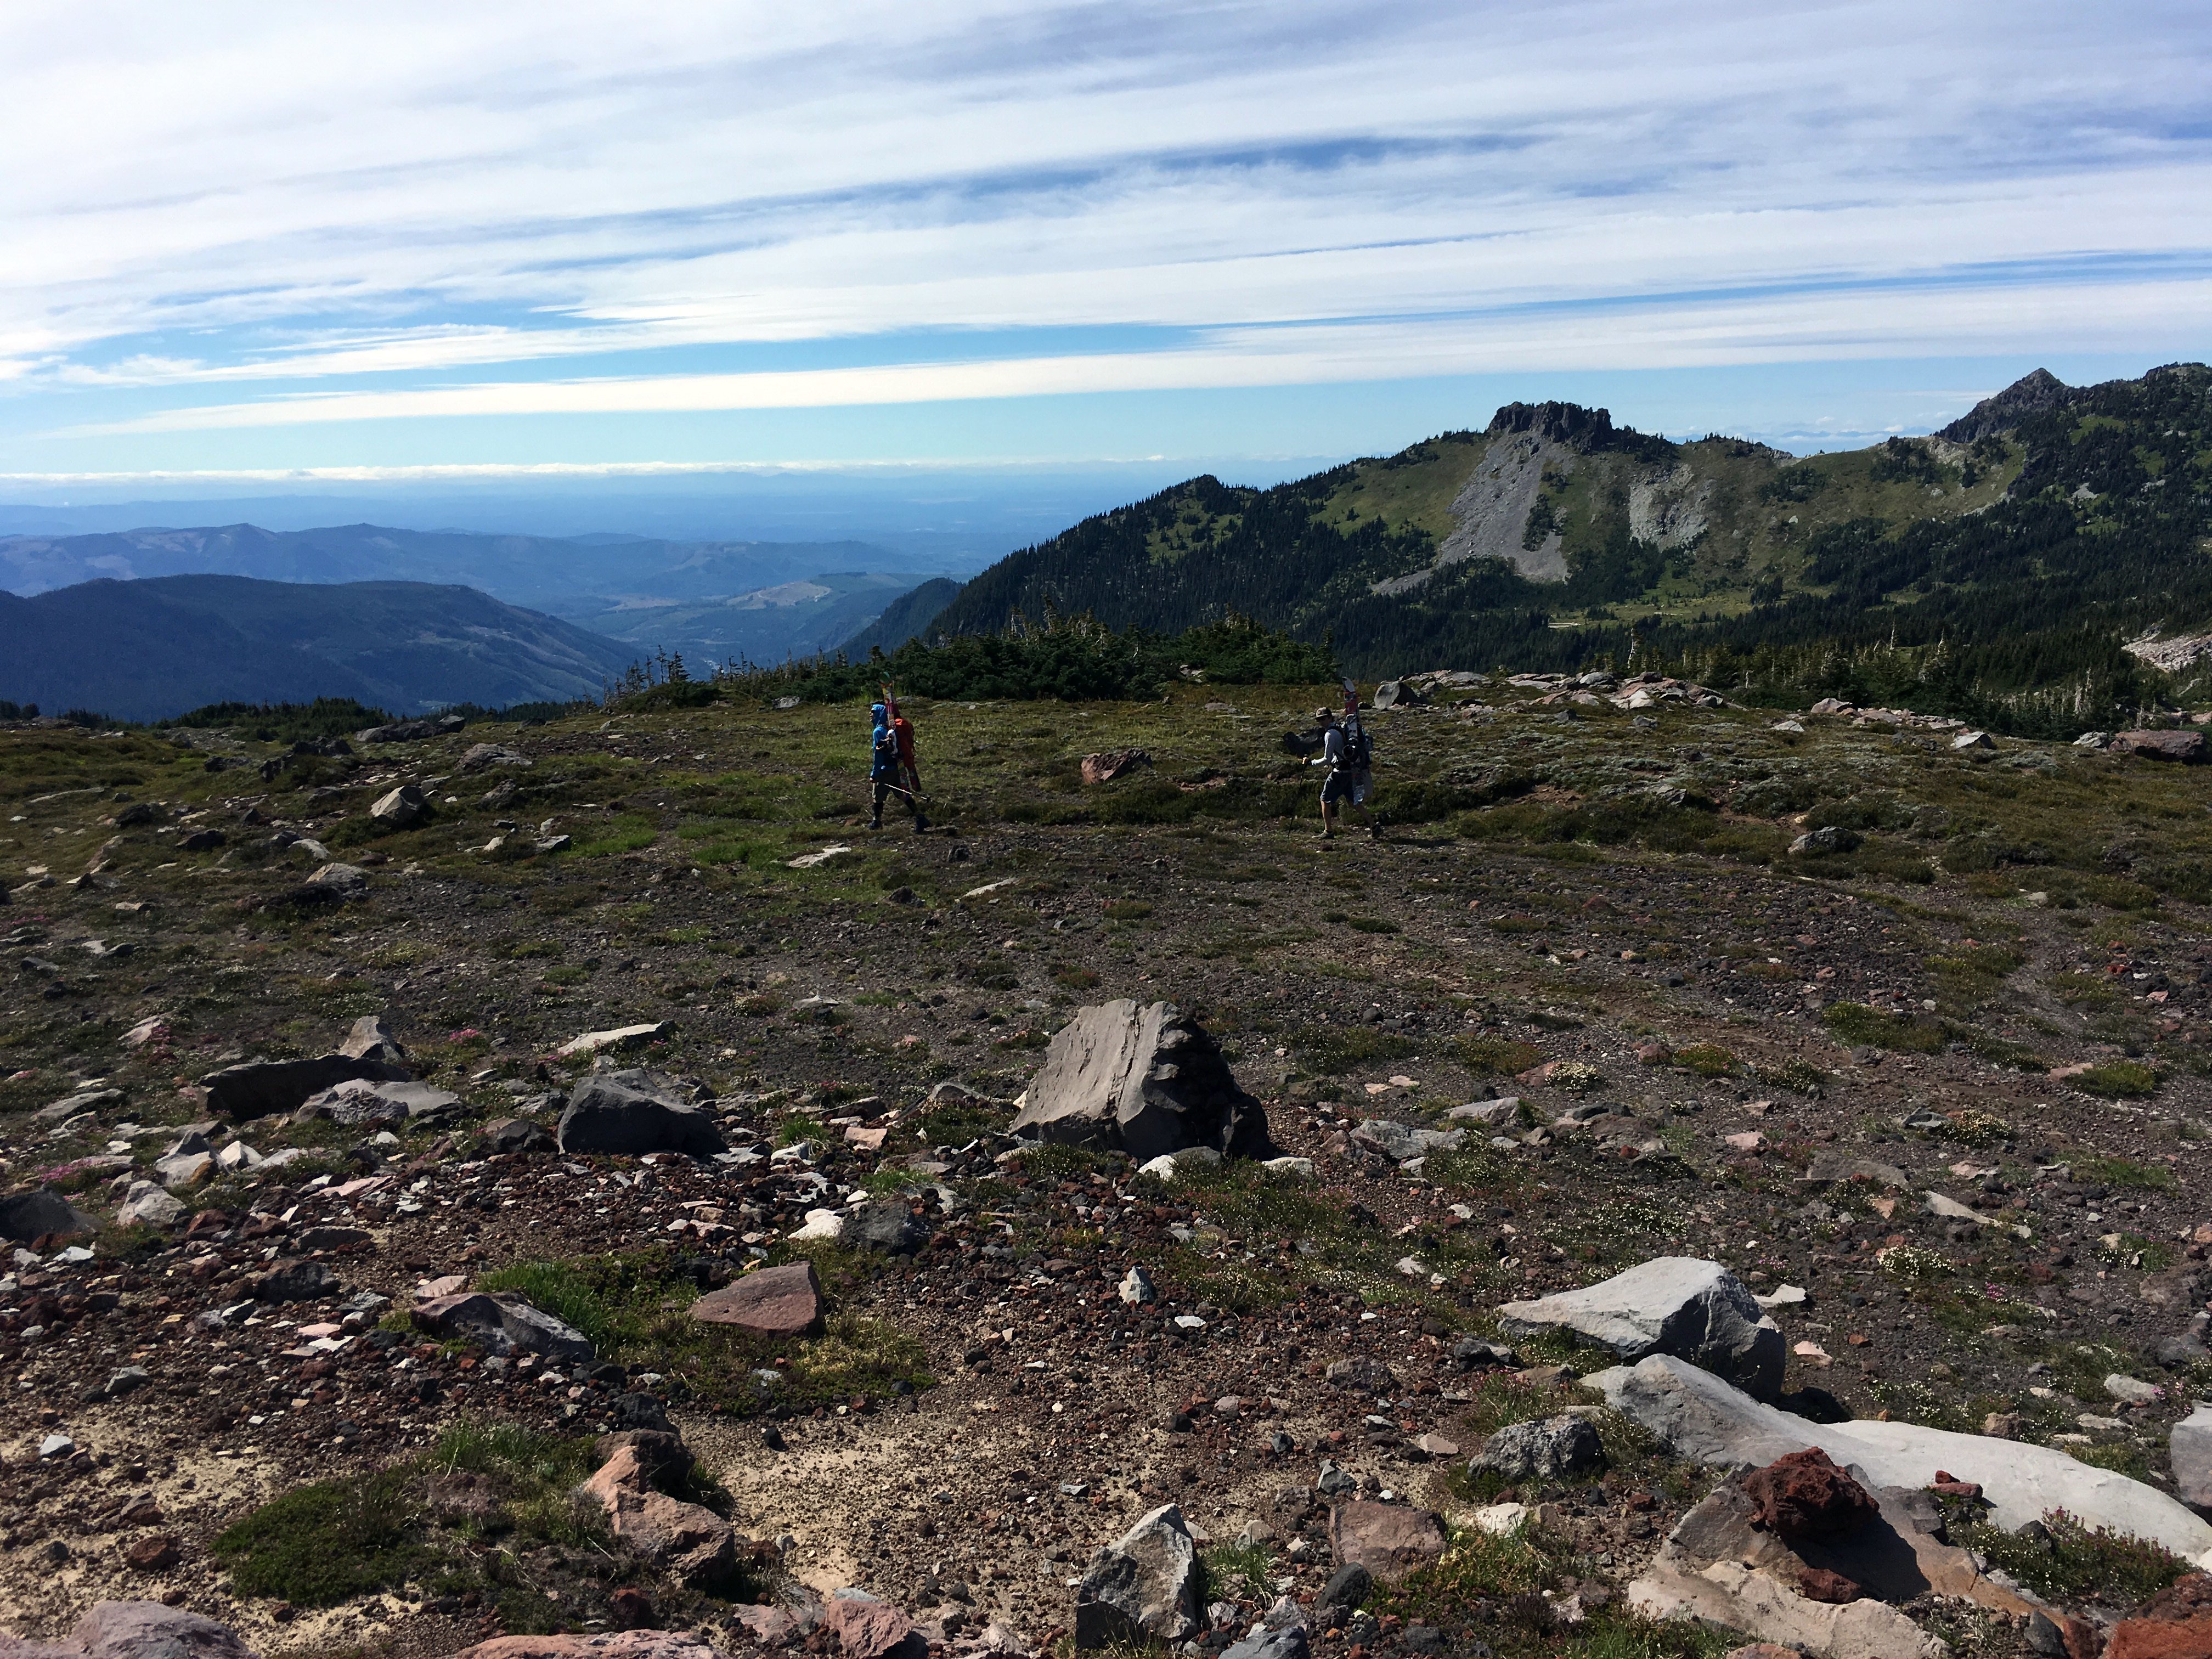
It’s much safer (and more enjoyable) to enjoy the wilderness with one or more other people! Even better, find a mentor or someone with outdoor experience to show you the ropes. I gained experience by joining the Wasatch Mountain Club when I lived in Utah – the Mountaineers would be a good choice around here and they have a strong hiking program – no “mountaineering” required.
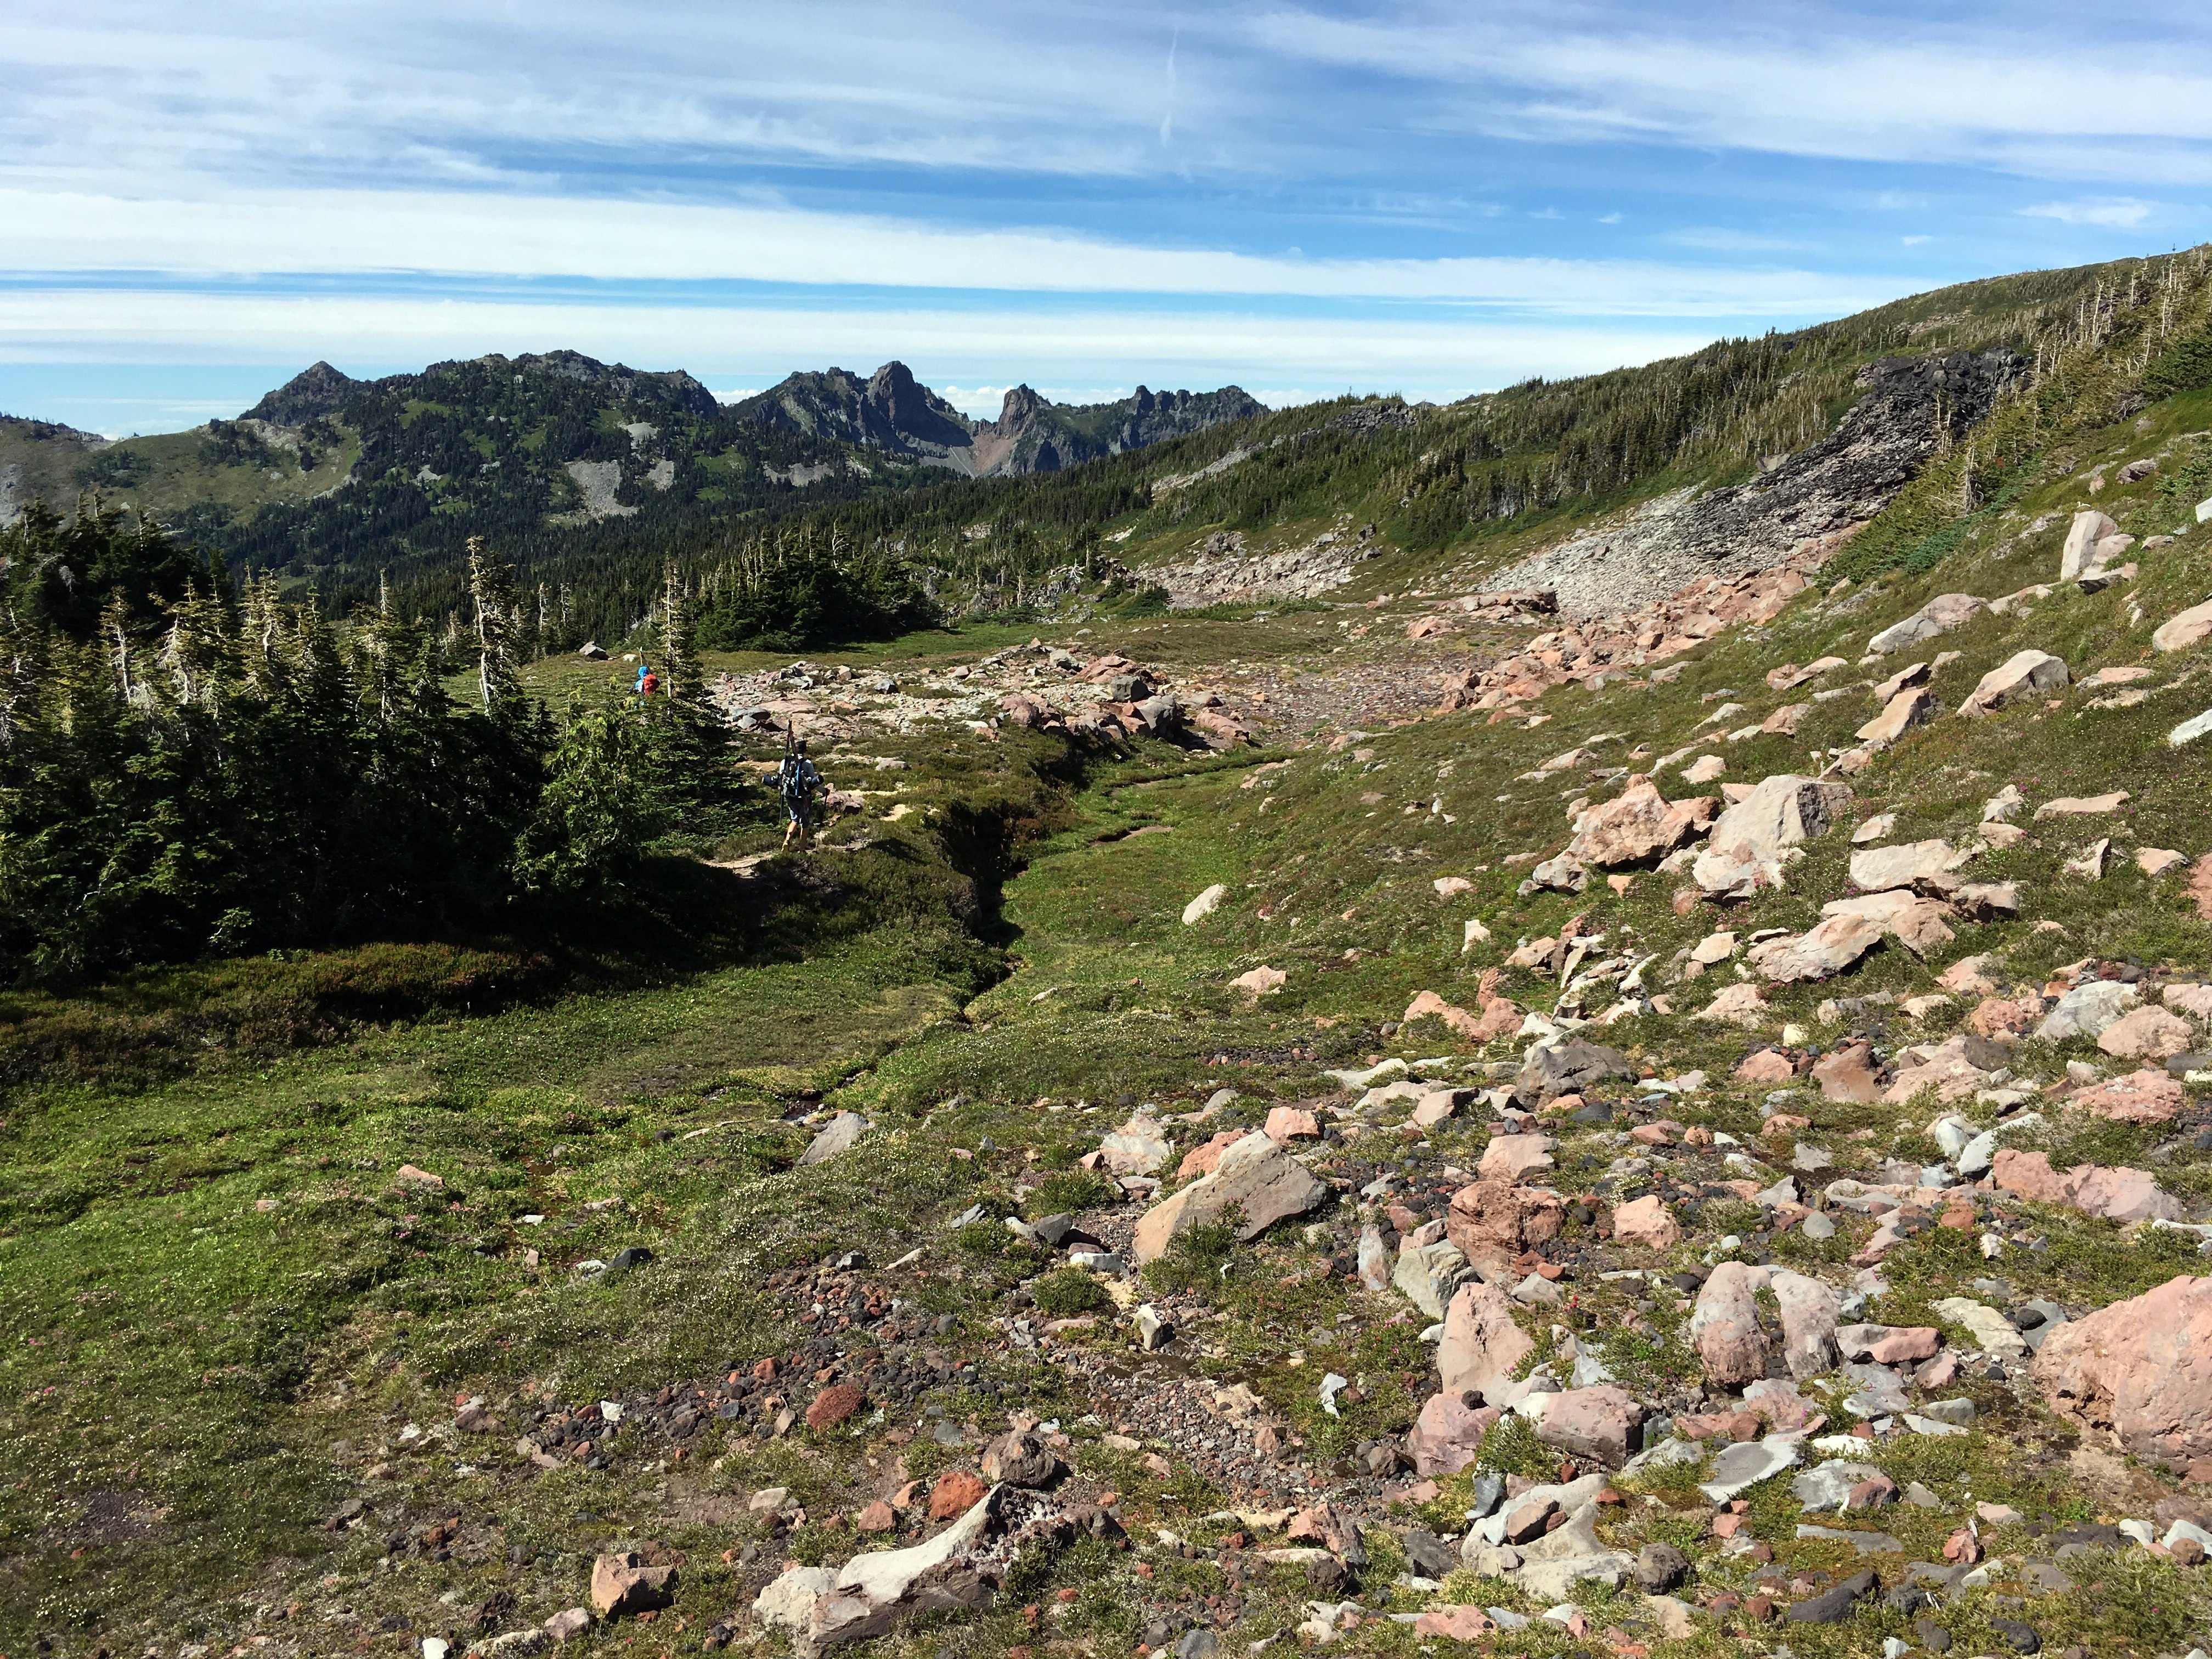
Find a trail:
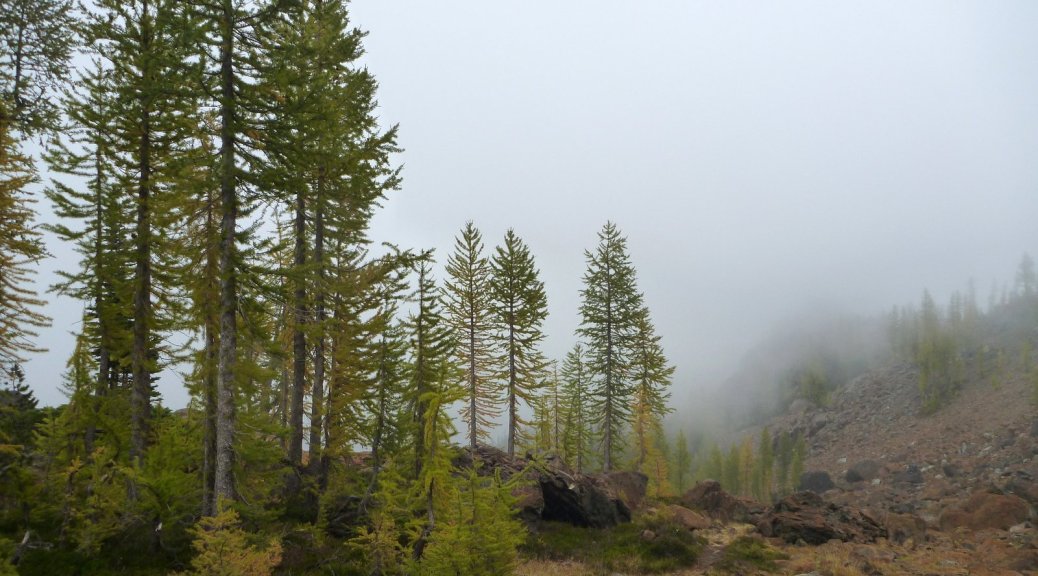
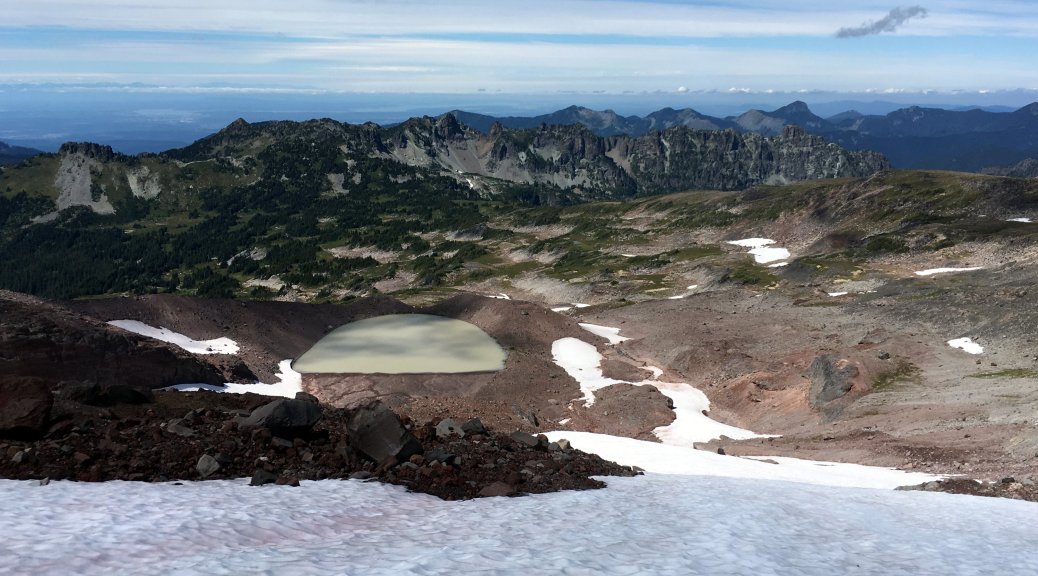
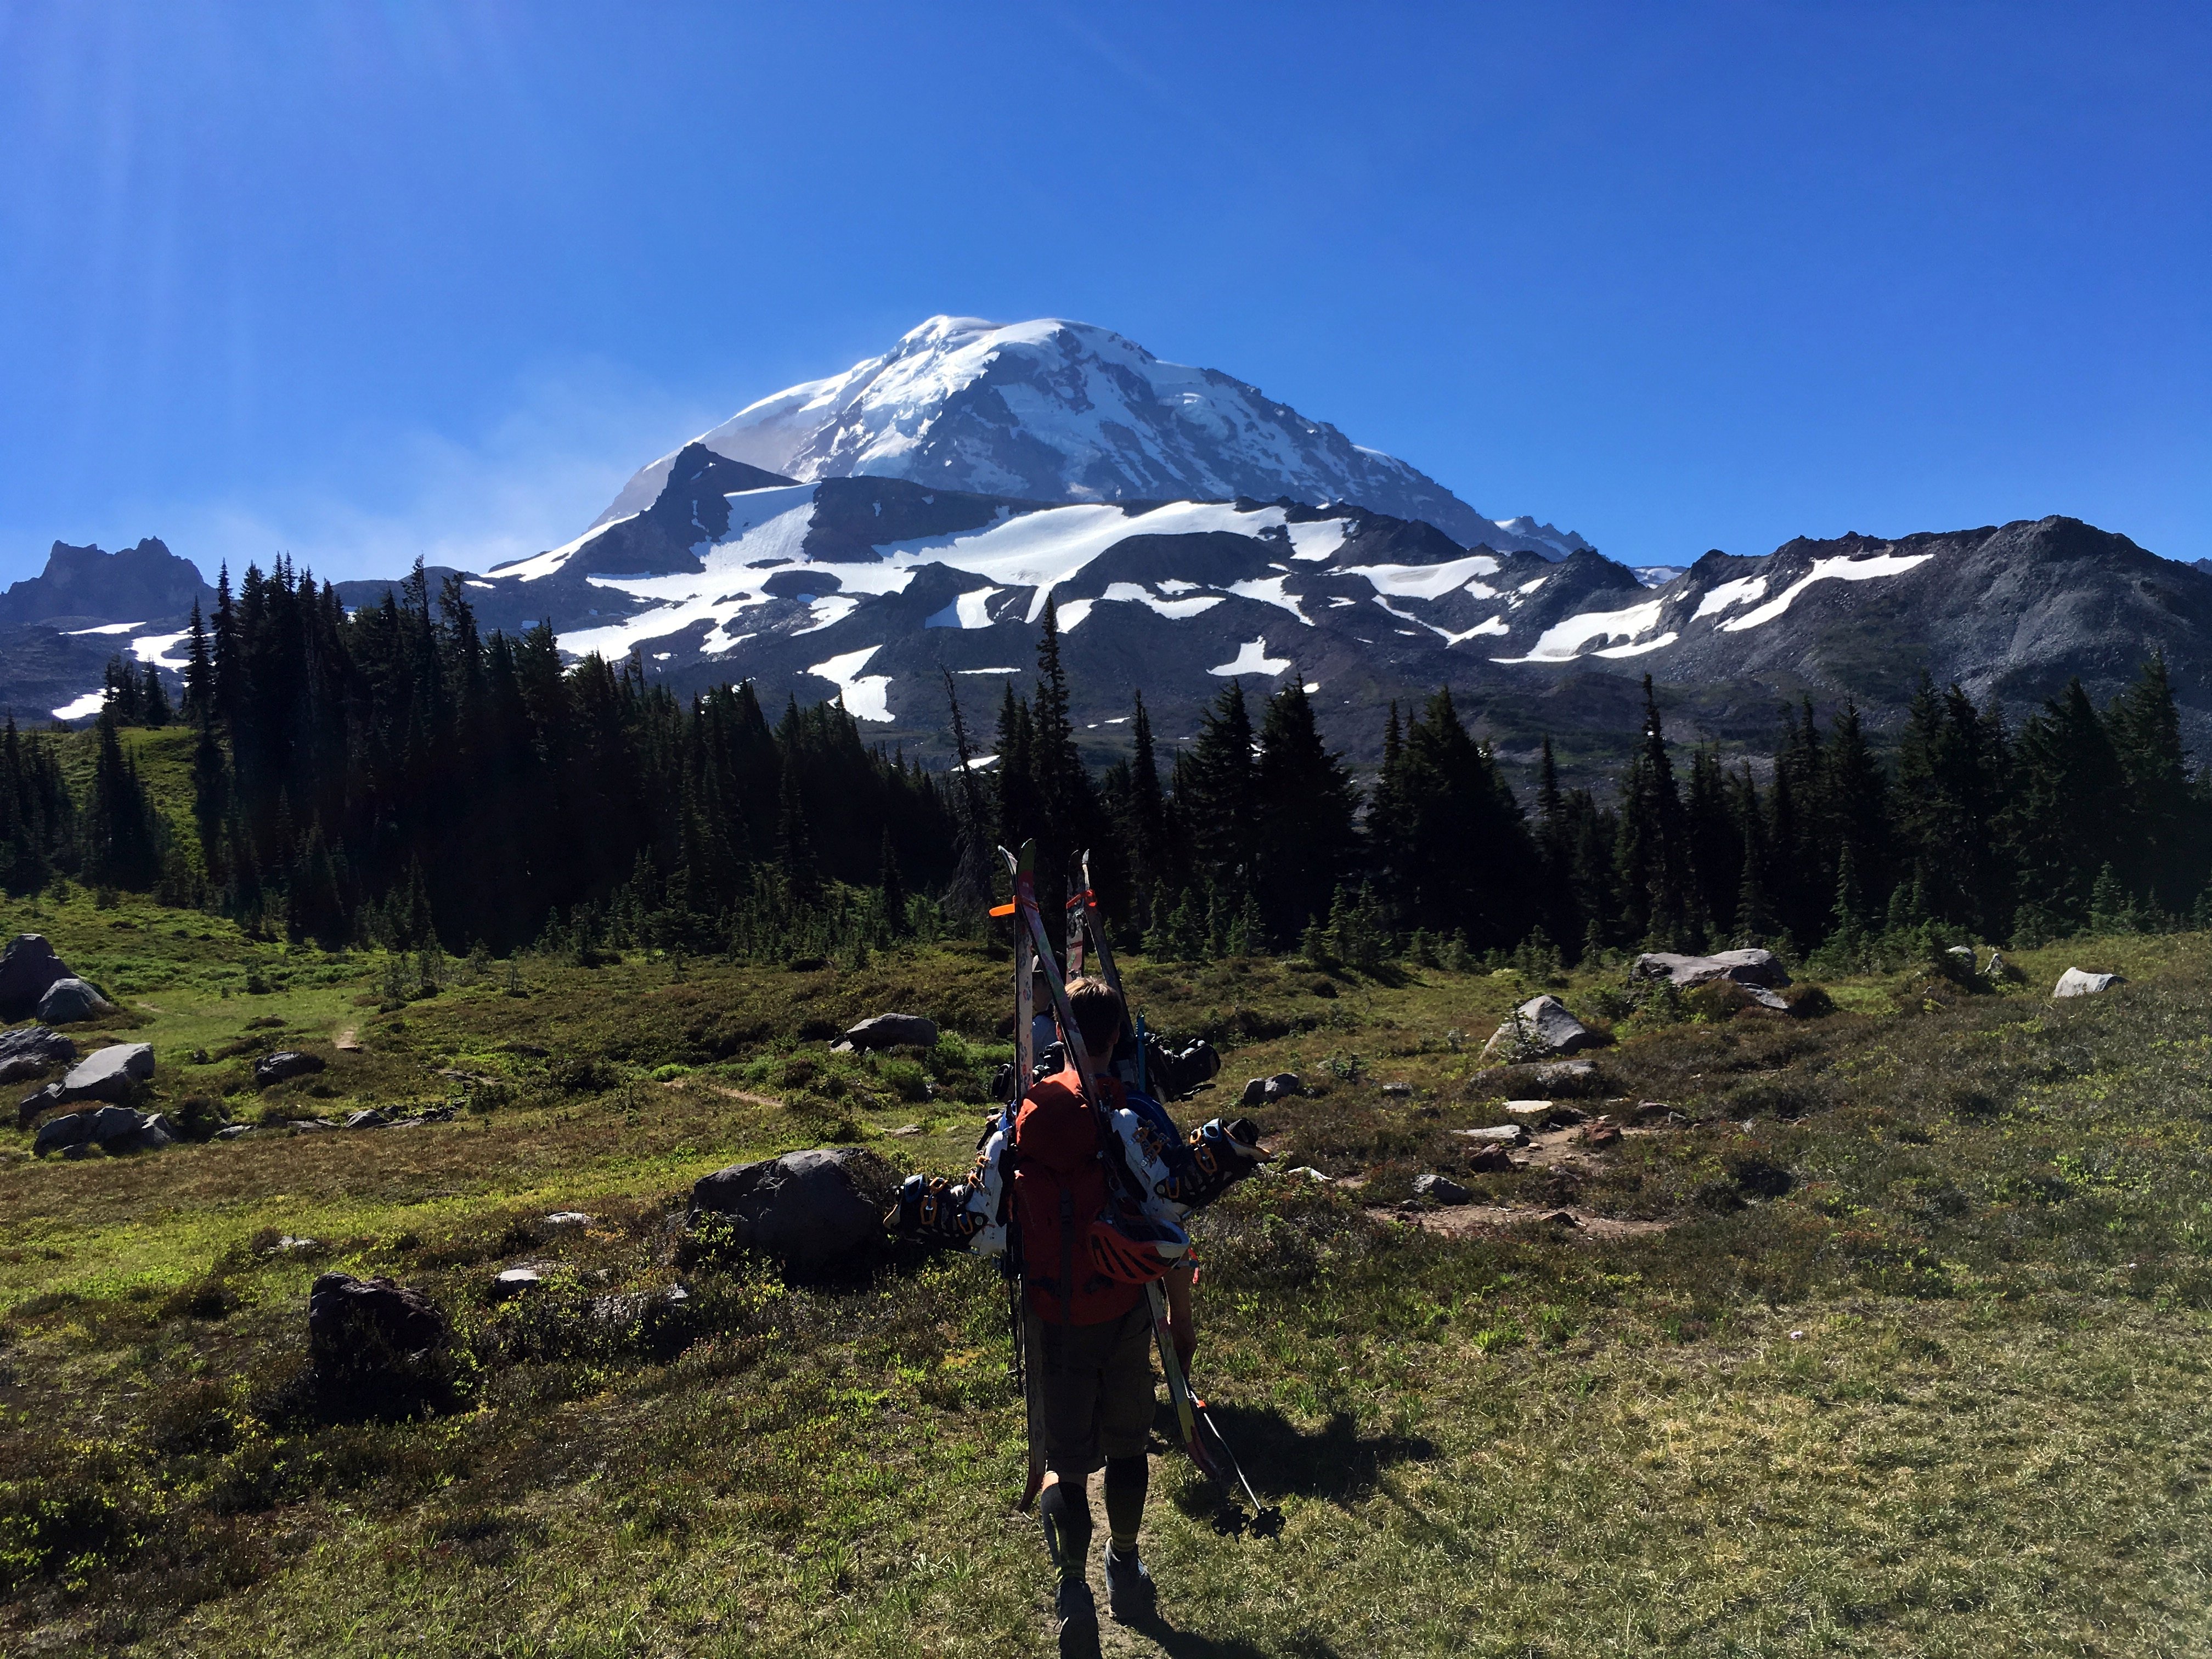
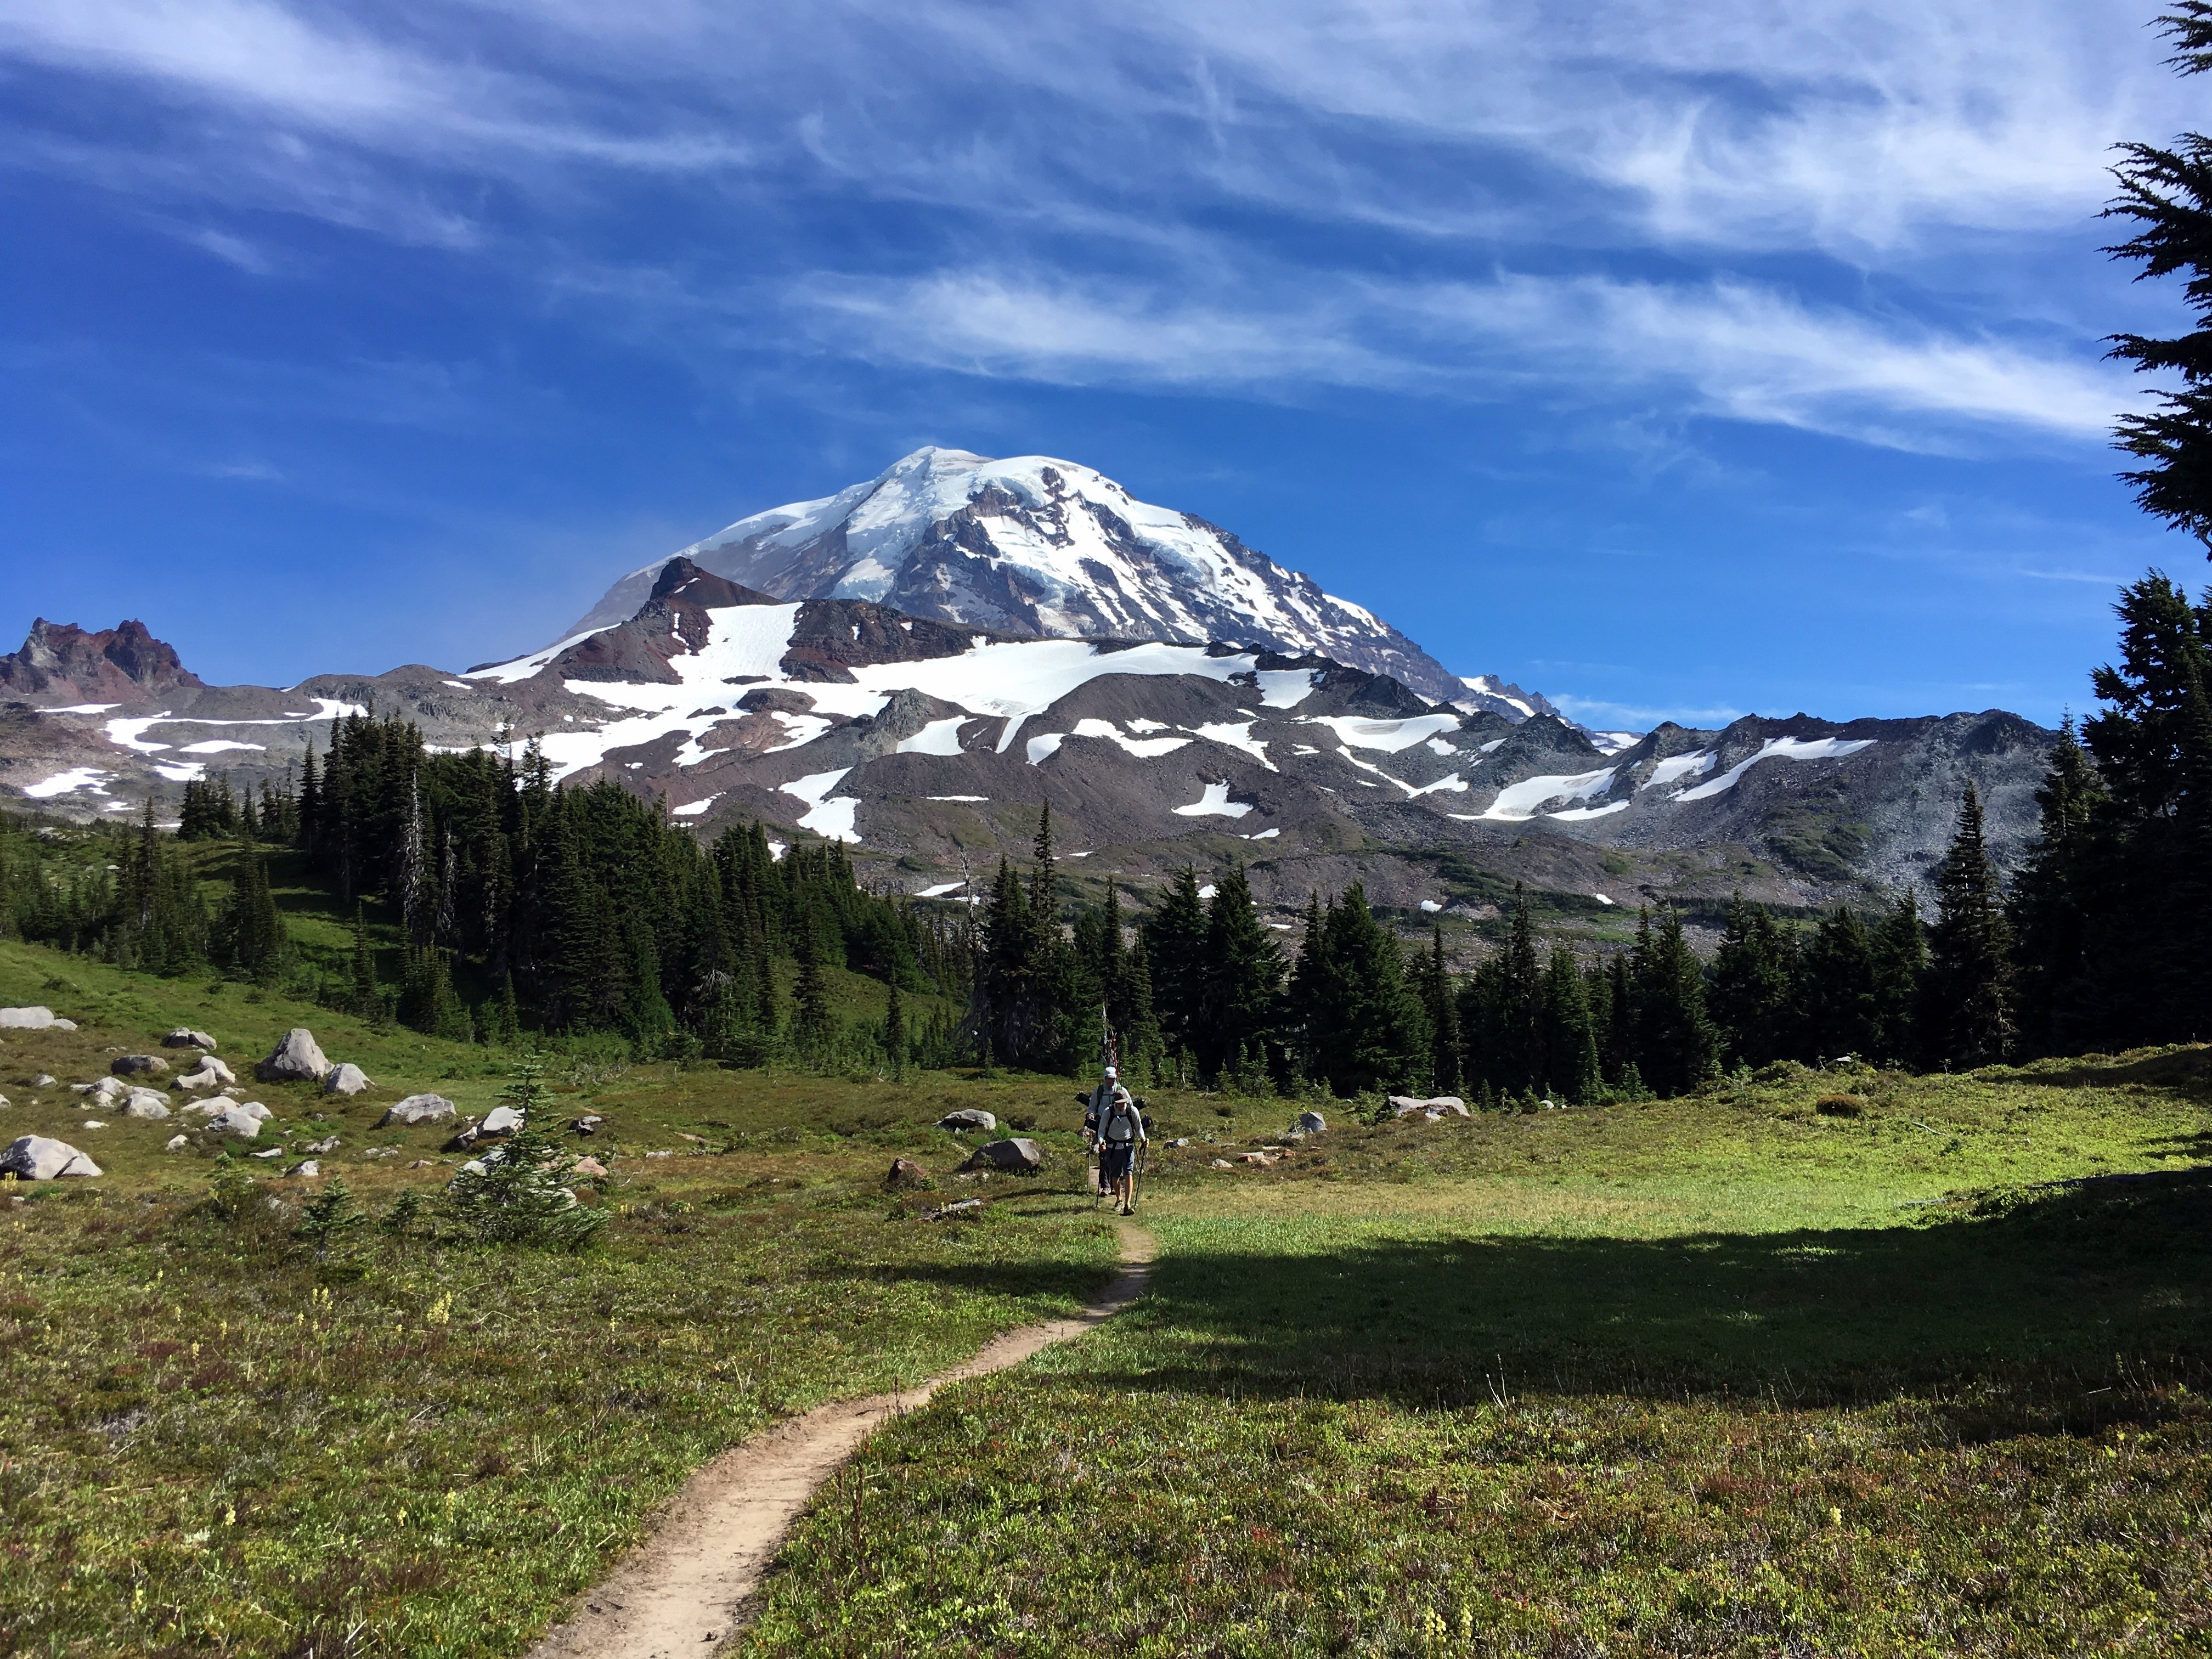
You can locate great trails on the Washington Trails Association hike finder map. The homepage will also recommend seasonally appropriate hikes. In general, elevation gain is more challenging than mileage. Washington’s trails change a great deal from month to month, and snow can make trailhead access impossible and backcountry travel much more serious – WTA trip reports can help you check conditions in advance. Most high country trails melt out by June – July depending on the area.
You will likely need to purchase a pass to park at the trailhead and in general the WTA hiking guide will tell you which one you need. You may not be able to purchase one early on weekend mornings so plan a couple days ahead.
On National Forest trails in Washington, the Northwest Forest Pass ($30) is often required. On WA State Park land, you’ll need a Discover Pass ($30 plus vendor fee). Both are good for 12 months from date of purchase. Mount Rainier National Park and Olympic NP have separate daily and annual entrance fees. If you think you’ll visit more than one national park and plan on purchasing the NW Forest Pass anyway, you can purchase the annual America The Beautiful pass ($80) at one of the national parks – that will work on all federal land and works everywhere the NW Forest Pass is also accepted (but NOT for the Discover Pass / WA State Parks!)
Get the 10 essentials:
The Seattle Mountaineers developed the Ten Essentials list and it remains a tried and true minimal set of equipment carried by responsible day hikers. This is the bare minimum that anyone should carry when venturing onto anything but the shortest forest or mountain trails. It should fit into a small bookbag or daypack.
- Navigation (map and compass)
First: navigation tools don’t work unless you have the skills to interpret your surroundings. Get a real compass (with declination adjustment) and learn how to use it (or take a class to practice your skills). You can print custom topographic maps for free using CalTopo. I always hike with a paper map as a backup but often use the Gaia GPS app ($20) for my iPhone and download maps of the area before I leave cell service (TopoMaps+ is a good free alternative).
- Sun protection (sunglasses and sunscreen)
Particularly critical if venturing onto snow, believe it or not.
- Insulation (extra clothing)
I generally carry enough clothing so that if I had to spend the night out I could survive (if not comfortably). Generally, in the cascades this always includes a waterproof jacket and either a fleece or a lightweight puffy jacket, even in summer. Give yourself some margin – water and wind can chill you in a hurry and the Cascades supply both in great amounts.
There’s a saying – “cotton kills” – because cotton clothing cools the body when wet and can contribute to hypothermia. If possible, find synthetic or merino wool hiking clothes.
- Illumination (headlamp/flashlight)
- First-aid supplies
I always carry gloves, ibuprofen, some sort of blister treatment such as moleskin, some small bandages, and something to cleanse wounds like alcohol swabs and antibiotic ointment. I also carry Benadryl/diphenhydramine in the event that someone in my party gets a sting or allergic reaction. For longer trips I carry a bigger kit. I only ever end up using blister supplies.
Even if I carry a lighter I keep matches in a small waterproof canister.
I keep a small but sharp single blade. If I’m skiing or might need to repair anything I take a small multitool.
- Nutrition (extra food)
- Hydration (extra water)
- Emergency shelter
I have to admit I could do better on this one. For dayhikes I typically rely on my clothing outerwear to keep me dry in an emergency. In winter conditions I carry a shovel and have the skills to build a snow shelter (this has been a lifesaving technique for several people I know when caught out in bad weather).
Pick your footwear:
I often hike in running shoes, but if you are concerned about the possibility of rolled ankles or if you are doing a rugged hike, you may consider purchasing hiking boots. Don’t let a lack of hiking boots hold you back from moderate summer hikes though.
On the other hand, waterproof boots are almost a necessity for snowy or wet spring hiking. The top features I look for are:
- Good fit (a store like Second Ascent or REI can help – Mountaineers members get 10% off at SA)
- Gore-Tex waterproof membrane
- Light weight (don’t get very heavy, full grain leather backpacking boots or mountaineering boots)
And treat yourself to a pair of wool hiking socks – your warm, blister-free feet will thank you.
Check the weather:
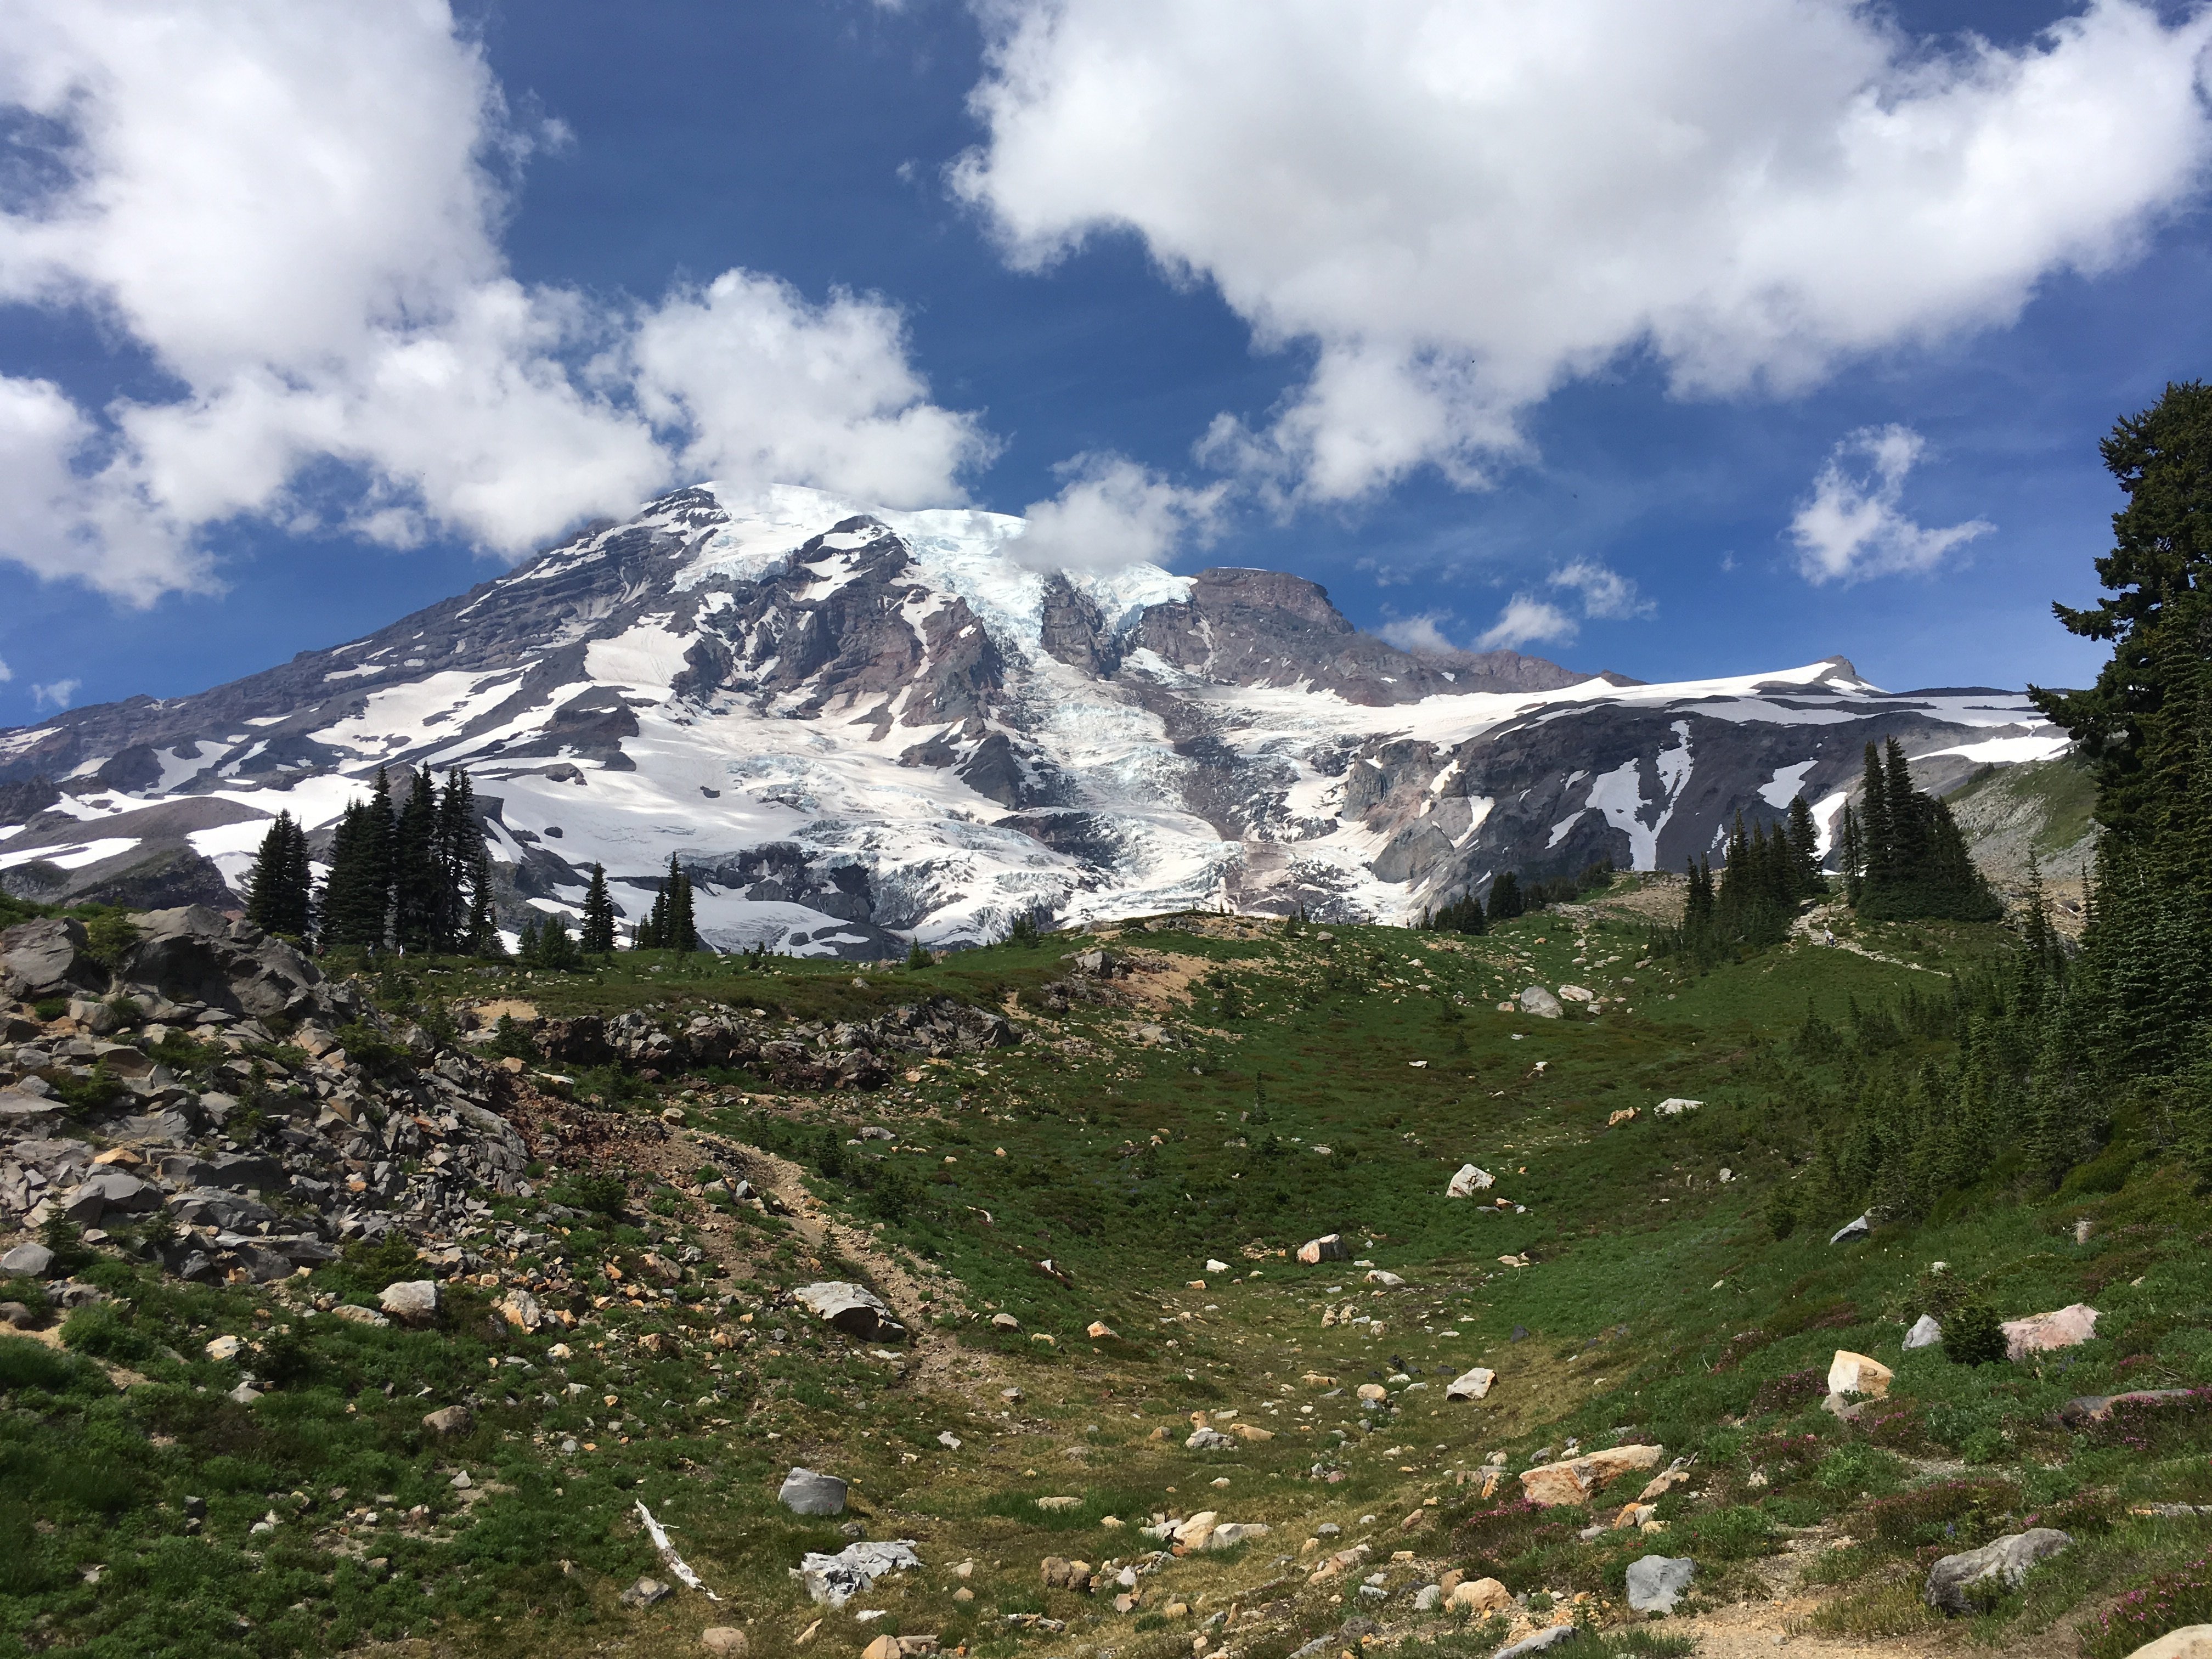
While mountain weather can change rapidly, it’s important to have an idea of what to expect. Weather.gov has the most accurate, location-specific forecasts. You can pick an exact spot on the topo map and it will calculate altitude-appropriate temperatures (it gets about 2-3F colder per 1000’ of elevation). There is an excellent forecast generated specifically for Mount Rainier NP here.
Leave a plan:
Let someone know where you are going and when you expect to return. Tell them to contact the county sheriff of the location you are hiking if they don’t hear from you after your return time.
Go!
Get out and enjoy the Cascades!